Sections & patterns
Insert ready-made section patterns, layouts and your own saved sections.
On this page
You do not have to build every section from scratch. Insert → Sections offers empty layouts, 40 ready-made patterns such as heroes, pricing tables and footers, and the sections you saved yourself.
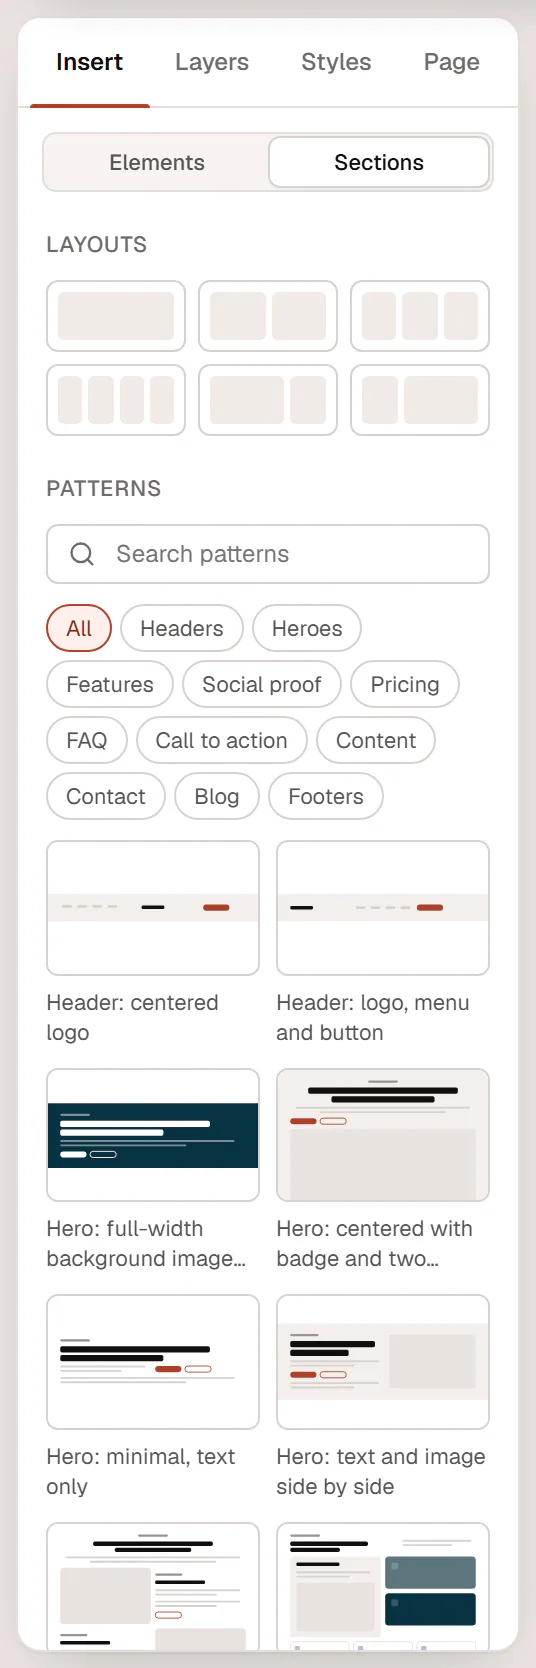
Open it with Insert in the left panel and click Sections at the top.
Layouts
Six empty section layouts: One column, Two columns, Three columns, Four columns, Two thirds + one third and One third + two thirds.
Click one to add an empty section after the selected section, or at the end of the page. The first column is selected and Insert switches to Elements so you can fill it. Columns sit side by side on desktop and stack on phones.
The same six layouts appear when you click Add section at the bottom of the page, and on an empty page under Start with a layout.
Patterns
Patterns are complete, styled sections with sample text and images. They use your Design System colors, fonts and buttons, so they match your site as soon as you add them.
- Type in Search patterns, or click a category: Headers, Heroes, Features, Social proof, Pricing, FAQ, Call to action, Content, Contact, Blog or Footers. In a template, the category that fits it is already selected: Headers in a header, Footers in a footer, Call to action in a popup and Blog in an archive or search results template. Click All to see every pattern.
- Hover a thumbnail to read what the pattern contains.
- Click it to insert it after the selected section, or at the end of the page.
The new section is selected. Replace the sample text and images with your own; the pattern is now a normal section, and nothing links it to the original.
Show all 40 patterns
| Category | Patterns |
|---|---|
| Headers | Header: centered logo · Header: logo, menu and button |
| Heroes | Hero: full-width background image with overlay · Hero: centered with badge and two buttons · Hero: minimal, text only · Hero: text and image side by side |
| Features | Features: alternating image and text rows · Features: bento grid · Features: text with checklist card · Features: 3-column icon cards · Features: numbered grid · Services: image cards with links |
| Social proof | Logo strip · Reviews: masonry wall · Stats band: 4 numbers · Testimonial: large single quote · Testimonials: three cards · Testimonials: rating summary with logos |
| Pricing | Pricing: three plans, middle highlighted · Pricing: two plans side by side |
| FAQ | FAQ: centered accordion · FAQ: intro and accordion in two columns |
| Call to action | Call to action: gradient banner · Call to action: dark band · Call to action: newsletter sign-up card · Call to action: card with image |
| Content | About: our story with image · Content: photo gallery grid · Content: zigzag story rows · Content: menu or price list · Process: four steps · Team: four people · Timeline: company milestones |
| Contact | Contact: info cards, map and opening hours · Contact: details and form |
| Blog | Blog: featured post and latest posts · Blog: latest posts |
| Footers | Footer: four columns, dark · Footer: newsletter band and columns, dark · Footer: simple, light |
The header and footer patterns are meant for header and footer templates in the Theme Builder. Open a header template and insert one there.
Saved sections
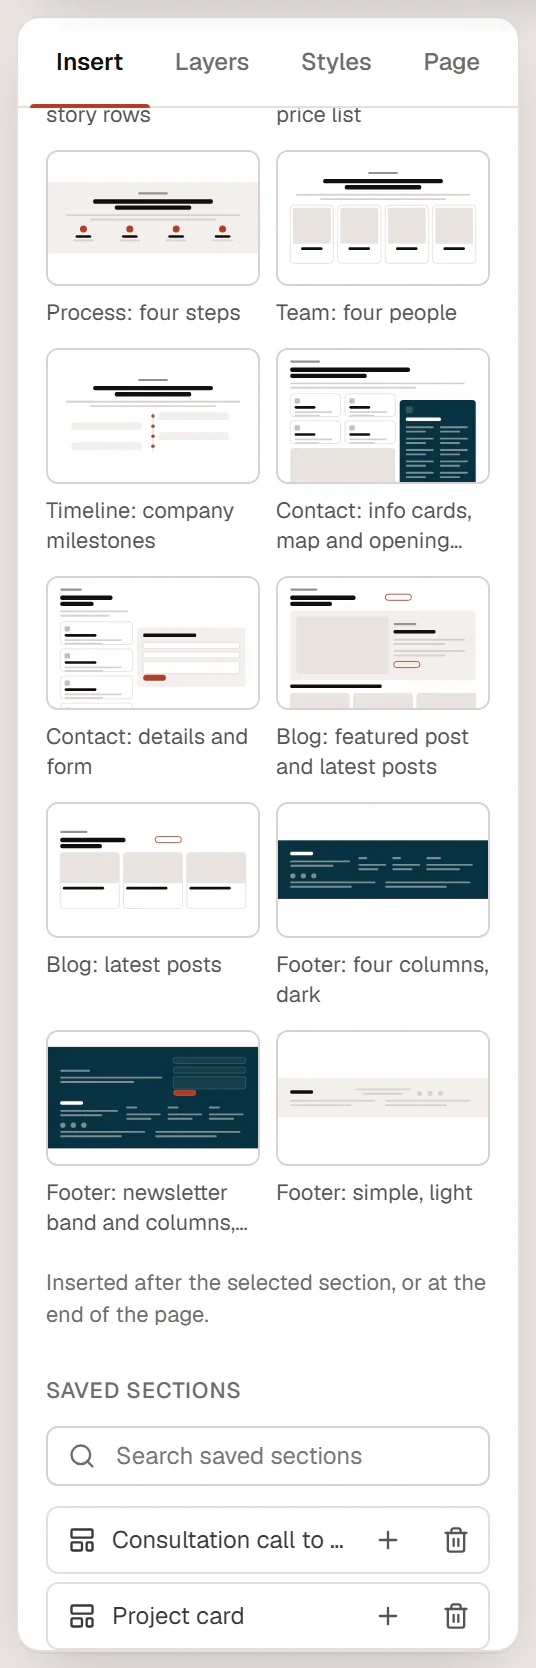
Your own sections appear at the bottom, under Saved sections.
- Type in Search saved sections to find one.
- Click + (Insert) to add an independent copy after the selected section. You can change the copy freely; the saved section stays as it is.
- Click the trash icon (Move to trash) to delete a saved section. The editor confirms with an Undo button.
Saved sections are Section templates. You also find them in Urmi → Theme Builder → Saved sections, where you can edit, rename and export them. See Saved sections.
Save your own sections
Right-click the section
Right-click the section (or any element) on the canvas or in Layers and choose Save as template.
Name it
Type a Template name and click Save.
Find it
The editor confirms Saved “…” to Insert → Sections with a Show button. The section is published straight away and available on every page.
Insert a copy or a linked section
There are two ways to reuse a saved section:
| Insert → Sections | Template widget | |
|---|---|---|
| What you get | A copy of the section in the page | The saved section itself, shown on the page |
| Editing | Change the copy freely | Edit the saved section once, every page updates |
| Use it for | A starting point you adapt | Parts that must stay identical, such as a call to action or a newsletter band |
With component properties, each Template widget can also have its own text and images. See Components.